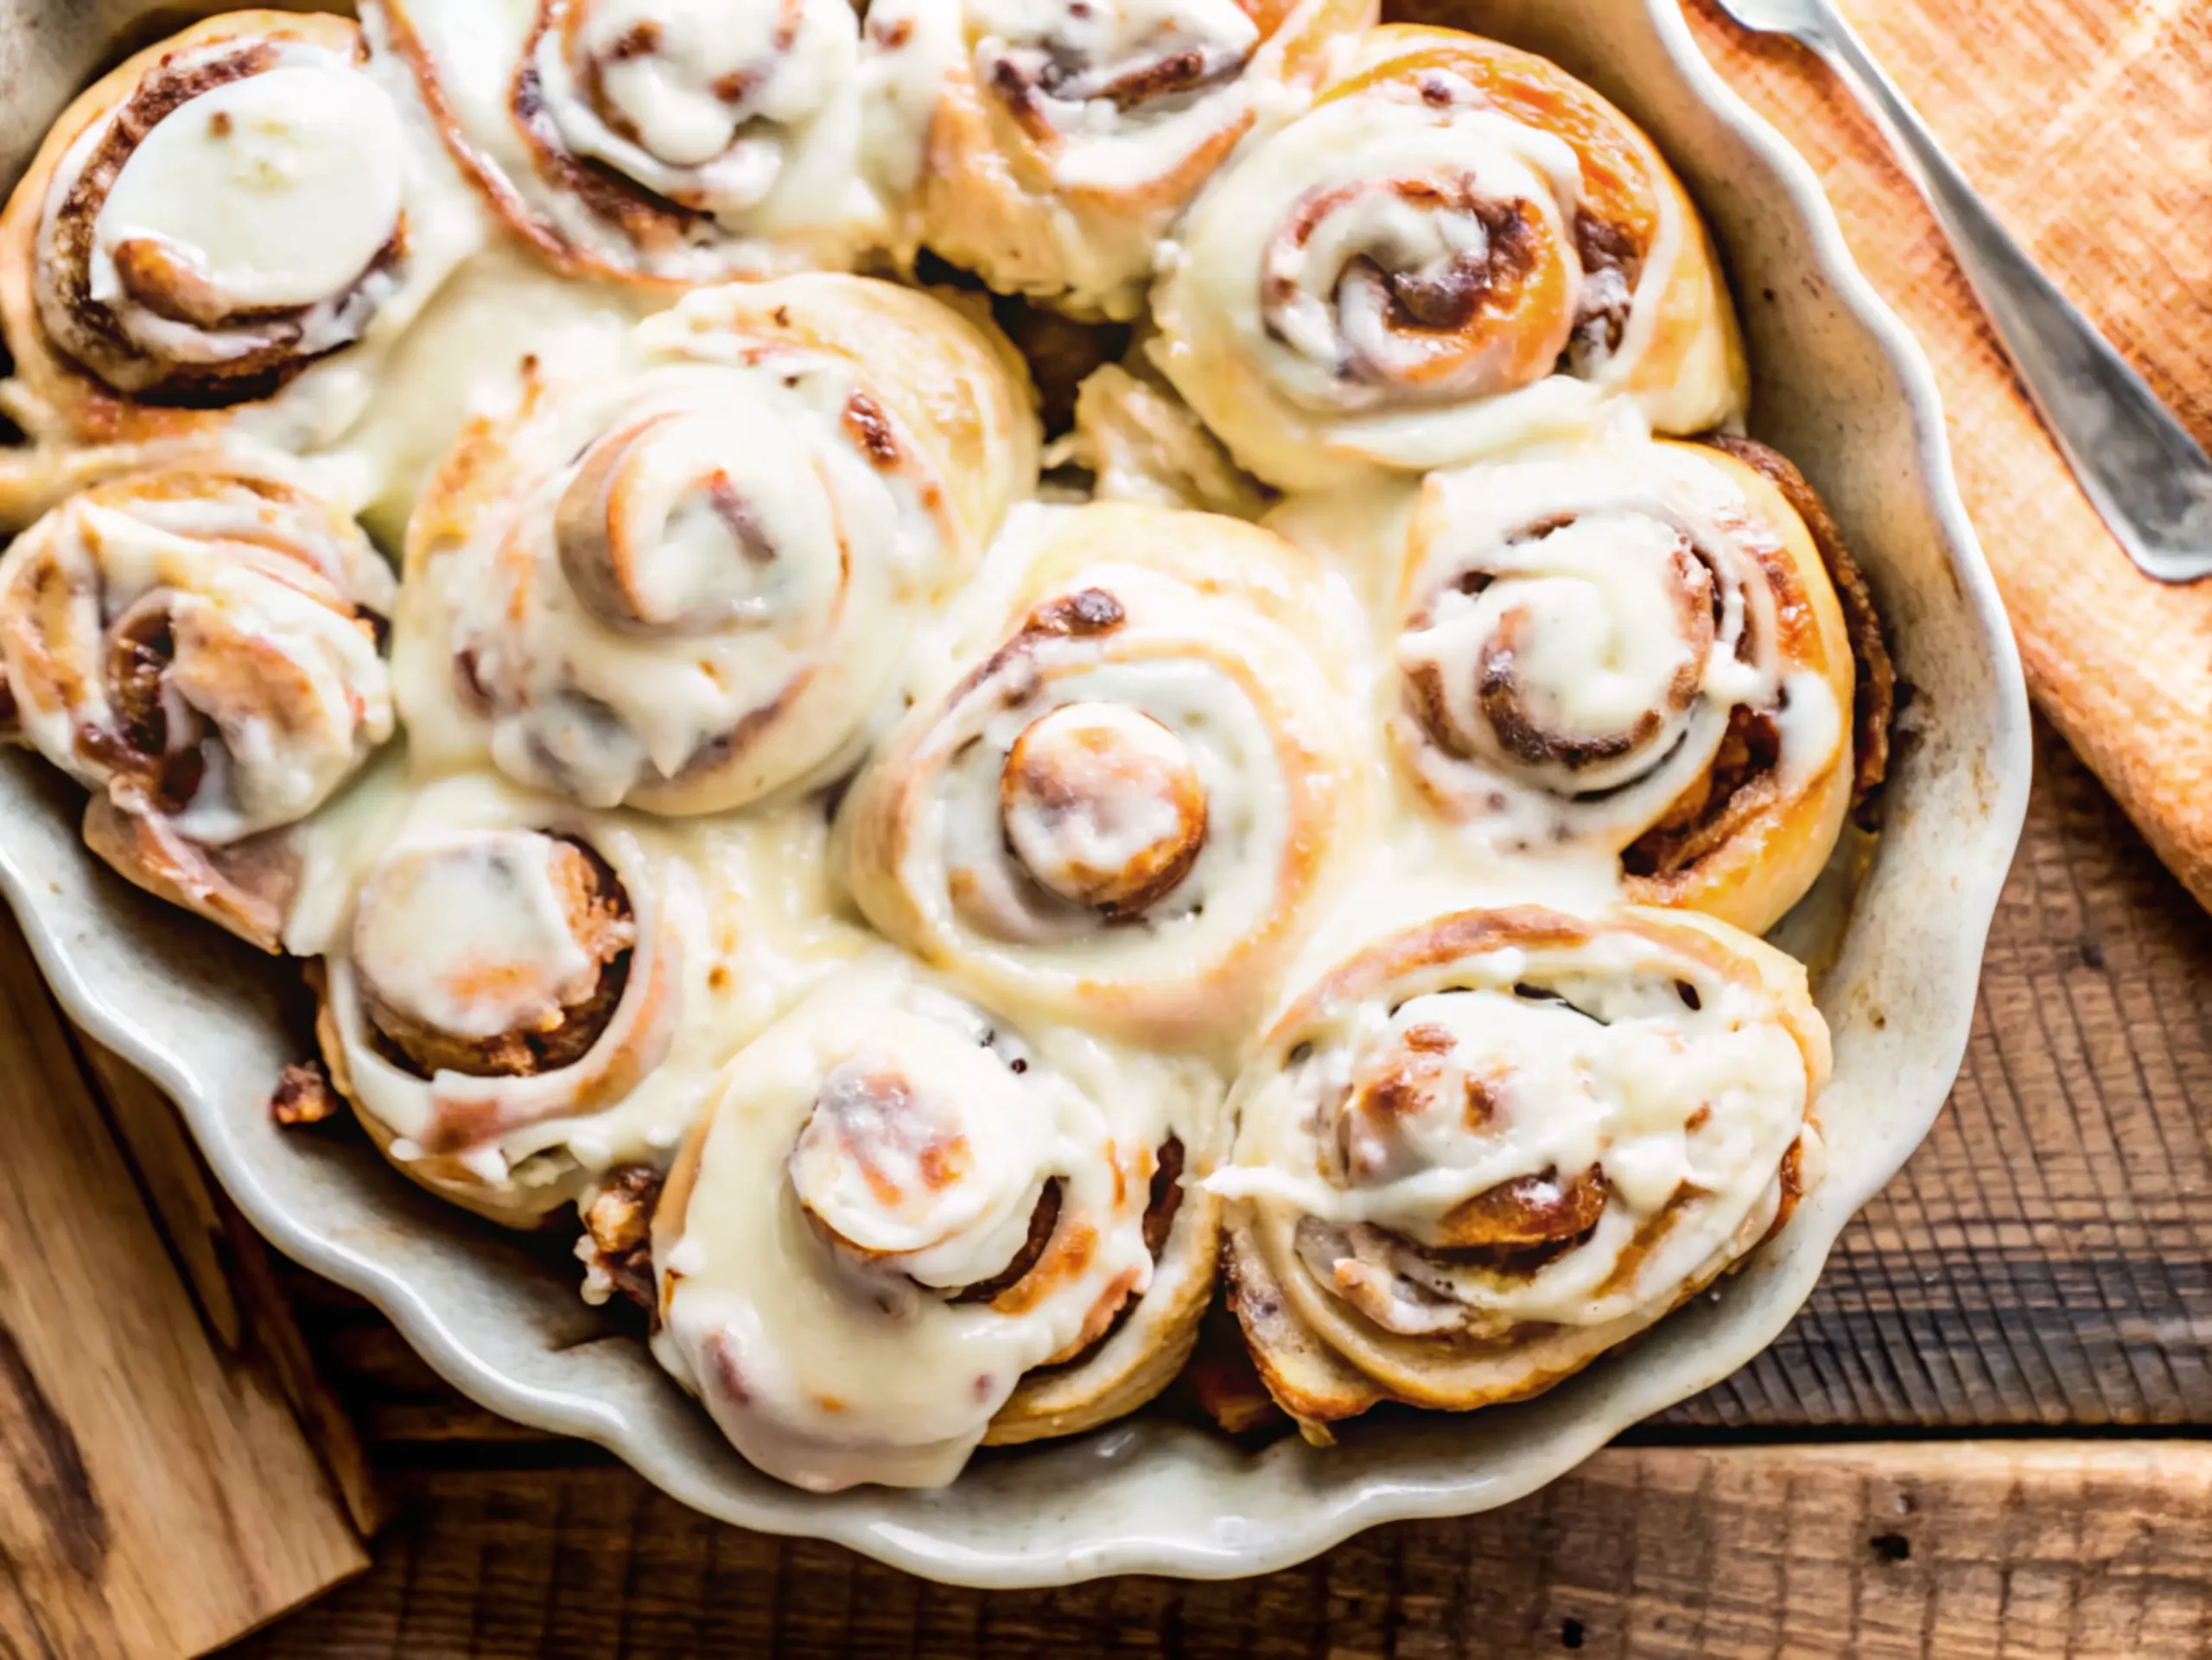
Tired of dry, dense cinnamon rolls that crumble instead of pull apart in heavenly, gooey layers? We’ve all been there – scrolling through dozens of recipes, only to end up with disappointing results that taste more like sweet bread than the bakery-quality treats we’re craving.
After testing over 15 variations and countless hours in the kitchen, I’ve perfected a foolproof cinnamon rolls recipe that delivers soft, pillowy rolls with that signature gooey center every single time. What makes this guide different? We’re not just giving you ingredients and steps – we’re diving deep into the science behind each technique, explaining the “why” behind every decision, and providing visual guides for every single stage so you can see exactly what success looks like.
Whether you’re a beginner baker or someone who’s struggled with homemade cinnamon rolls before, this comprehensive guide will transform you into a cinnamon roll master.
The Core Components: Understanding Your Ingredients & Tools
Key Ingredients Explained
The difference between mediocre and magnificent cinnamon rolls lies in understanding your ingredients. Here’s why each component matters:
Bread Flour vs. All-Purpose Flour: We use bread flour for its higher protein content (12-14% compared to AP flour’s 10-12%). This extra protein develops more gluten, giving your rolls that signature chewy, bakery-style texture with better structure. If you only have all-purpose flour, you can substitute it 1:1, but expect slightly less chewy results.
Active Dry Yeast: Fresh, active yeast is non-negotiable. Always check your expiration date and proof it in warm liquid (105-110°F) with a pinch of sugar. Dead yeast is the #1 reason homemade cinnamon rolls fail to rise properly.
Heavy Cream: Here’s our secret weapon – a splash of heavy cream in the filling creates the gooiest, most indulgent center you’ve ever tasted. The fat content prevents the filling from drying out during baking.
European-Style Butter: The higher fat content (82% vs. 80% in regular butter) makes a noticeable difference in flavor and texture. If unavailable, regular unsalted butter works perfectly fine.
Brown Sugar vs. White Sugar: Brown sugar adds moisture and deeper molasses flavor to the filling, while white sugar in the dough provides clean sweetness without competing with the cinnamon.
Essential Equipment
You don’t need a professional kitchen, but these tools will make your life easier:
- Stand Mixer with Dough Hook (preferred) or strong arms for hand-kneading
- Kitchen Scale for accuracy – baking by weight is always more reliable
- Rolling Pin – a heavy one makes rolling easier
- 9×13 inch Baking Dish – the perfect size for 12 generous rolls
- Bench Scraper for clean dough handling
- Instant-Read Thermometer to check liquid temperatures
- Dental Floss (unflavored) for cutting rolls without squashing
The Step-by-Step Method
Phase 1: Creating the Master Dough
Step 1: Activating the Yeast Combine 1 packet (2¼ teaspoons) active dry yeast with ¼ cup warm water (105-110°F) and 1 teaspoon sugar. Stir gently and let sit for 5-10 minutes until foamy and doubled in size. If it doesn’t foam, your yeast is dead – start over with fresh yeast.
Step 2: Mixing Wet Ingredients In your stand mixer bowl, combine the foamy yeast mixture with ¾ cup warm milk, ⅓ cup melted butter, ¼ cup sugar, and 1 large egg. Mix on low speed until combined.
Step 3: Adding Dry Ingredients Add 1 teaspoon salt and 3 cups bread flour, one cup at a time. Mix on low speed until a shaggy dough forms, then increase to medium speed and knead for 8-10 minutes until smooth and elastic.
Step 4: The Windowpane Test Pinch off a golf ball-sized piece of dough and gently stretch it. If you can stretch it thin enough to see light through without tearing, you’ve developed enough gluten. If it tears easily, knead for 2-3 more minutes.
Step 5: First Rise Place dough in a greased bowl, cover with a damp towel, and rise in a warm spot for 60-90 minutes until doubled in size. Pro tip: Turn your oven to 200°F for 1 minute, then turn off and place the bowl inside for the perfect rising environment.
Phase 2: The Ooey-Gooey Filling
Step 6: Rolling Out the Dough On a lightly floured surface, roll the dough into a 16×12 inch rectangle. Don’t worry about perfect edges – we’ll trim later if needed.
Step 7: Creating the Filling Brush the dough with 3 tablespoons melted butter, leaving a ½-inch border on one long side. In a small bowl, mix ⅔ cup brown sugar, 1½ tablespoons cinnamon, and 2 tablespoons heavy cream. Spread this mixture evenly over the buttered dough.
Phase 3: Assembling & The Second Rise
Step 8: Rolling the Log Starting from the long side opposite the clean border, tightly roll the dough into a log. Pinch the seam to seal. Use a gentle sawing motion with unflavored dental floss to cut into 12 equal pieces (about 1⅓ inches each).
Step 9: Arranging and Second Rise Place rolls cut-side up in a greased 9×13 inch pan, leaving small gaps between each roll. Cover and rise for 30-45 minutes until puffy and touching each other.
Phase 4: Baking & Frosting
Step 10: Baking to Golden Perfection Preheat oven to 350°F. Bake for 22-25 minutes until golden brown on top and internal temperature reaches 190°F. Don’t overbake – they’ll continue cooking from residual heat.
Step 11: Making the Cream Cheese Frosting While rolls cool for 10 minutes, beat together 4 oz softened cream cheese, 3 tablespoons butter, 1½ cups powdered sugar, ½ teaspoon vanilla, and 2-3 tablespoons milk until smooth and spreadable.
Pro-Tips for Bakery-Level Results
Transform your best cinnamon roll recipe from good to extraordinary with these expert secrets:
Tip #1: Temperature is Everything – Use an instant-read thermometer for liquids. Too hot kills yeast, too cool won’t activate it.
Tip #2: The Overnight Game-Changer – After cutting rolls, cover and refrigerate overnight. Let come to room temperature (about 30 minutes) before baking for ultimate convenience.
Tip #3: The Milk Wash Secret – Brush tops with milk before baking for extra golden color and soft crust.
Tip #4: Steam for Softness – Place a small oven-safe dish of hot water on the bottom rack while baking to create steam for softer rolls.
Tip #5: Don’t Skip the Rest – Let frosted rolls sit for 10 minutes before serving. This allows flavors to meld and prevents frosting from melting completely.
Common Problems & Troubleshooting
Why didn’t my dough rise?
The most common culprit is dead yeast. Always proof your yeast first – if it doesn’t foam within 10 minutes, it’s not viable. Other causes include liquid that’s too hot (kills yeast) or too cold (won’t activate), or a drafty, cold rising environment.
Why are my rolls dry or tough?
Over-kneading develops too much gluten, creating tough rolls. Additionally, using too much flour during rolling or overbaking will dry them out. Follow visual cues rather than exact times – rolls should be golden but still soft to touch.
Can I prepare these ahead of time?
Absolutely! After cutting rolls, place in the pan, cover tightly, and refrigerate up to 24 hours. Remove 30-60 minutes before baking to come to room temperature, then bake as directed. You can also freeze unbaked rolls for up to 3 months.
How should I store leftovers?
Store covered at room temperature for 2 days or refrigerate for up to 1 week. Reheat individual rolls in the microwave for 15-20 seconds or warm the entire pan covered in a 300°F oven for 10 minutes.
Print
Homemade Cinnamon Rolls
- Total Time: 2 hours 30 minutes
- Yield: 12 rolls
- Diet: Vegetarian
Description
Bakery-style homemade cinnamon rolls with a gooey center, pillowy-soft dough, and luscious cream cheese frosting – a classic comfort treat perfect for brunch or special mornings.
Ingredients
1 packet (2¼ tsp) active dry yeast
¼ cup warm water (105-110°F)
1 tsp sugar (for proofing yeast)
¾ cup warm milk
⅓ cup melted butter
¼ cup granulated sugar
1 large egg
1 tsp salt
3 cups bread flour
3 tbsp melted butter (for filling)
⅔ cup brown sugar
1½ tbsp ground cinnamon
2 tbsp heavy cream
4 oz cream cheese, softened
3 tbsp butter, softened
1½ cups powdered sugar
½ tsp vanilla extract
2–3 tbsp milk
Cooking spray or butter (for greasing pan)
Instructions
1. Combine 1 packet active dry yeast with ¼ cup warm water and 1 tsp sugar. Stir and let sit for 5–10 minutes until foamy.
2. In a stand mixer bowl, combine the foamy yeast with ¾ cup warm milk, ⅓ cup melted butter, ¼ cup sugar, and 1 egg. Mix on low speed until smooth.
3. Add 1 tsp salt and 3 cups bread flour, one cup at a time. Mix on low, then knead on medium speed for 8–10 minutes until dough is smooth and elastic.
4. Pinch off a golf ball-sized piece of dough and stretch it. If it forms a thin, translucent windowpane without tearing, gluten is developed.
5. Place dough in a greased bowl, cover, and let rise in a warm spot for 60–90 minutes or until doubled in size.
6. On a lightly floured surface, roll the dough into a 16×12 inch rectangle.
7. Brush dough with 3 tbsp melted butter, leaving a ½-inch border on one long side. In a bowl, mix ⅔ cup brown sugar, 1½ tbsp cinnamon, and 2 tbsp heavy cream. Spread over dough.
8. Tightly roll the dough from the long side opposite the clean edge. Pinch to seal. Slice into 12 pieces using unflavored dental floss.
9. Place rolls in a greased 9×13 inch pan. Cover and let rise for 30–45 minutes until puffy and touching.
10. Preheat oven to 350°F. Bake rolls for 22–25 minutes until golden and internal temp reaches 190°F.
11. While rolls cool for 10 minutes, beat together 4 oz cream cheese, 3 tbsp butter, 1½ cups powdered sugar, ½ tsp vanilla, and 2–3 tbsp milk until smooth. Spread over warm rolls.
Notes
For best results, use bread flour to achieve that chewy, bakery-style texture. Make sure your yeast is fresh and active before beginning. The splash of heavy cream in the filling keeps the centers moist and gooey. European-style butter offers extra richness, but regular butter works fine. Rolls are best eaten warm, but can be stored covered at room temperature for up to 2 days or refrigerated for longer freshness.
- Category: Breakfast
- Method: Baking
- Cuisine: American

